How Anodizing Changes the Dimensions of a Machined Aluminum Part
Why does a part come back from anodize too big?
Because it is bigger. Anodizing converts the surface of the aluminum into aluminum oxide, and the oxide occupies more room than the metal it replaced. MIL-PRF-8625F w/Amd 2 states the rule in section 6.10.1: an increase in dimension equal to one half of the thickness of the applied coating can be expected for each surface coated.
The specification works its own example. A 0.004 inch coating calls for 0.002 inch of pre-machining allowance per surface on a close-tolerance part.
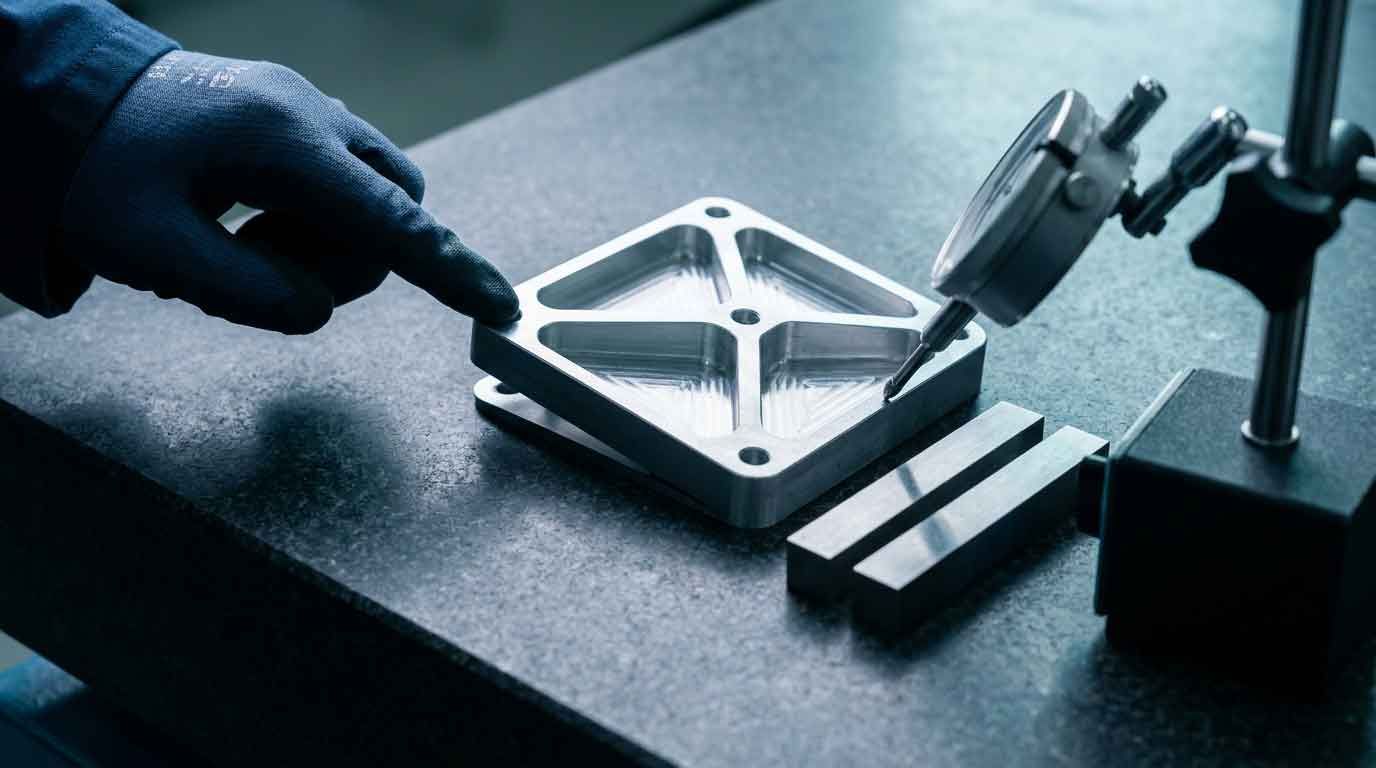
Read that again and notice where it lands. That is a machining instruction, written into a finishing specification. The part measured perfectly on the surface plate because it was measured before the coating existed, and the allowance that would have kept it in tolerance had to go into the program weeks earlier.
What the anodizing line runs to, and what it does to the metal
Three features where it stops being a rounding error
On an open face, half a coating thickness is usually nothing. The trouble starts where two coated surfaces face each other, and where a coating has to build on a corner instead of a plane.
A bore closes by twice the growth
Both walls grow inward. Whatever the per-surface growth is, the diameter loses two of them. A bore that came off the machine on the low side of its tolerance is the first feature to fail a gauge pin after the tank, and it fails without anything having gone wrong in either building.
A thread moves by about four times it
On a 60 degree thread the geometry multiplies. Pitch diameter changes by roughly four times the per-surface growth while major and minor diameters change by twice it, so a thread can measure acceptably across the majors and still bind halfway down. That is the complaint that usually arrives blaming the tap.
Tapping order is the other half of that question. A hole cut to nominal before the tank comes back tighter than it went in, so the two usual answers are an oversize tap or a plug that keeps the coating out of the hole altogether. Blind holes earn a separate thought. They hold process solution after the part leaves the rack, and what does not rinse out has a way of reappearing on the finish days later. Neither problem is hard. Both are cheaper to settle in the program than at the bench.
A sharp edge will not carry hard coat
Type III does not build on an unbroken corner the way it builds on a face, and the specification treats that as a design requirement rather than an anodizer's problem. Table III asks for roughly a 1/16 inch radius at a 0.002 inch coating and roughly 1/8 inch at 0.004 inch. A print that calls hard coat and leaves the edges sharp is asking for two things that do not fit together.
Who owns the pre-machining allowance, and why it is a machining decision
What the specification gives you, by type
Two things to read off it. The growth ratios do not change between the types, so the arithmetic in both columns is identical and only the thickness moves. And the thickness moves a long way. Type III at its nominal is twice the thickest Type II coating the specification allows, which is why a tolerance that survives Type II without anyone mentioning it can be gone on hard coat.
The ratios, identical on both types:
- Growth per coated surface. Half the coating thickness.
- On a bore diameter. Twice the per-surface growth.
- On a 60 degree thread pitch diameter. About four times the per-surface growth.
What actually changes between them:
- Coating thickness. Type II runs 0.00007 to 0.0010 inch. Type III runs 0.0005 to 0.0045 inch, with 0.002 inch nominal unless the print says otherwise.
- Thickness tolerance. Type II is controlled by coating weight, at a minimum of 1000 mg/ft². Type III is held to ±20% up to 0.002 inch and ±0.0004 inch above it.
- Minimum edge radius. Not specified for Type II. For Type III, about 1/16 inch at a 0.002 inch coating and about 1/8 inch at 0.004 inch.
- What working anodizers report. Type II build often measures lighter than the half-in rule predicts. Type III behaves close to it.
Already have a print with an anodize callout on it? Start Your RFQ.
The authorities do not agree, and it matters on a tight number
The specification states a flat rule. Half the coating goes into the metal and half of it stands proud, on every type, on every surface.
The Aluminum Anodizers Council and a good number of working anodizers put Type II closer to two thirds in and one third out, with only Type III behaving the way the document describes. Both positions are published. Both cannot be right.
The gap is small in absolute terms and it is irrelevant on a part with an ordinary tolerance. On a bore held to a few ten-thousandths it is the whole tolerance band.
So here is the position Standard works to, plainly. We calculate to the specification, because the specification is the number a print and a purchase order can be held to, and a shop that quietly plans to a different rule than the one the drawing invokes is storing up an argument for later. Then, on tight-tolerance Type II, we stop trusting the calculation. Measured build on Type II runs lighter than the rule predicts often enough that the number governing production should come off a first article rather than off a spreadsheet.
Calculate to the document. Prove it on a part. Type III is the easier case, because it behaves close to what the specification says it will.
Anodize goes last, so the allowance gets decided first
Section 3.3.1.1 requires anodizing after heat treatment, machining, welding, forming and perforating are finished. There is no operation after it where a dimension gets corrected. Whatever the part measures going into the rack, plus the growth, is what ships.
Which makes the allowance a machining decision with a finishing input, and it has to be made before the program is written.
The rack is the same kind of decision arriving in different clothes. Anodizing is an electrical process, so every part needs at least one point where the rack holds it, and that point does not coat. Section 3.12.1 asks for contact marks held to a minimum consistent with good practice, which is not the same thing as none. Where they land is negotiable, and a location is far easier to agree on a drawing than on a finished part.
None of this is difficult. It is just early. When the mill and the tank sit in the same building, the allowance, the rack point and the masking all get settled in one conversation, before anything is cut, by people reading the same print. That conversation takes about five minutes.
Will you commit to a tight tolerance on a feature that has to survive anodize?
Not on the strength of a calculation, and on Type II that is the honest answer. The specification's growth rule is the baseline and it is what we plan to, but measured Type II build often runs lighter than it, so a tight post-anodize number gets proved on a first article before it governs production.
If the schedule has no room for a first article, then the tolerance opens or the feature gets masked. There is no third door. We would rather say that at quote than have it turn up at inspection.
Send this with the print
- The anodize callout in full. Type, class, and on Type III the thickness. The specification's own ordering data section asks the purchaser for exactly that, and a note reading only anodize leaves the choice to somebody who has not seen the assembly.
- Which features have to hold after the tank. Bores, threads, sealing faces, anything that mates. Knowing which numbers have to survive puts the allowance in the program instead of in a rework.
- Alloy and temper. Both color and build move with alloy chemistry, so this is not a formality.
- Where the rack may touch, or a line saying we should choose. Either answer works. Silence is the one that gets decided without you.
Send a print and we will come back with the allowance already in it
Questions buyers ask before they send a print
How much does anodizing change the size of my part?
About half the coating thickness on each coated surface, which is what MIL-PRF-8625F states. Type II coatings run from 0.00007 to 0.0010 inch and Type III from 0.0005 to 0.0045 inch with a 0.002 inch nominal, so the growth is small in absolute terms and large next to a tight tolerance.
Do I need oversize taps for hard coat tapped holes?
That is one of the two usual answers, the other being to mask or plug the hole. Pitch diameter moves about four times the per-surface growth, so a hole tapped to nominal ahead of a 0.002 inch hard coat can come back too tight for its fastener. Tell us the tapped holes are going in the tank and the decision happens at the program rather than at the bench.
My print calls out MIL-A-8625F. Is that still the right specification?
It is the legacy designation, and it is still on a great many drawings in circulation. The active document is MIL-PRF-8625F with Amendment 2, dated 23 November 2020, and the types and classes did not change when the prefix did. A drawing calling the old number gets processed to the current specification unless the customer says otherwise in writing.
Can a feature be masked so it does not grow at all?
Yes, and masking is one of the finishing services Standard runs in house. Decide it early. A masked feature is a fixture and a labor operation rather than a note on a drawing, and it is cheaper to plan than to add.
Bring us the part before it is cut
If you have an aluminum part headed for a finish, the allowance is worth an hour now rather than a first article later. Send the print and the anodize callout and we will tell you what moves and by how much.
Start Your RFQ or Contact Us. Or call 270.820.7009.
Recent Posts